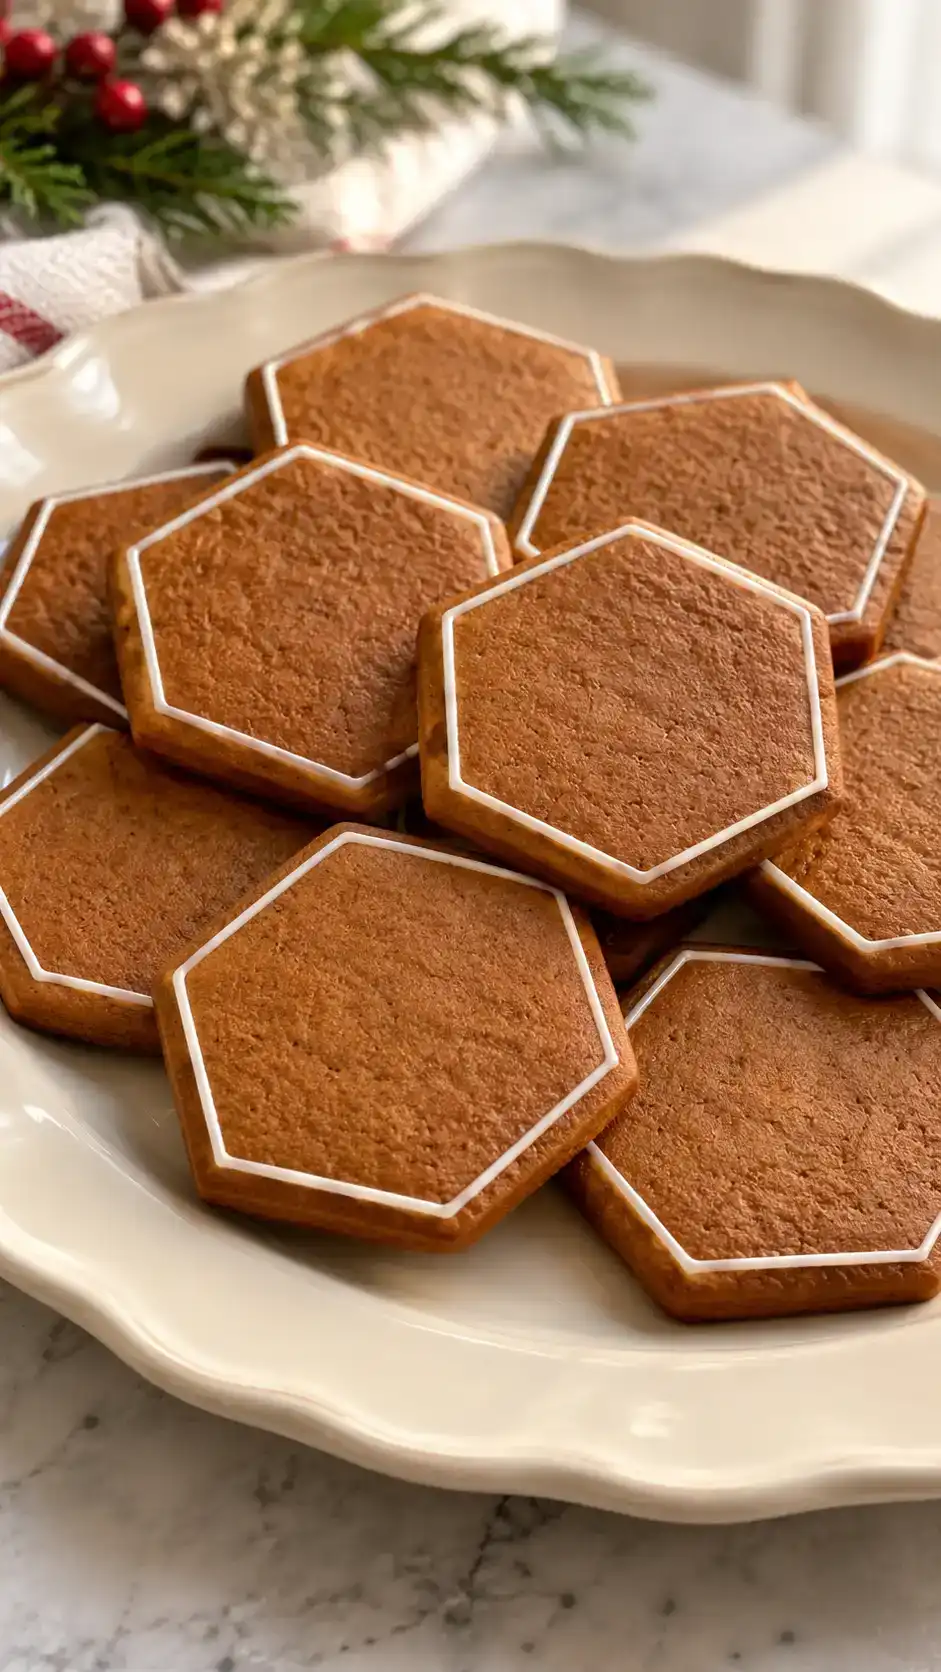
Snow globe gingerbread cookies with clear hard-candy windows, tiny piped winter scenes and snowy white icing borders.
Bake one test cookie before the whole batch; brands differ in melting speed and color.
The transparent center is melted edible hard candy, not glass. Choose pale translucent hard candies; white mints and chewy candies do not create the same clear window. This is a more detailed decorating project. Candy windows are crisp and harder to bite than the cookie.

Gingerbread Snow Globe Cookies
Per tray: 10–13 minutes · About 3 trays of 10 cookies; shape and cutter size affect yield
Allow 181 minutes: 60 hands-on, 60 chilling, 36 for all baking trays, 25 cooling. Cooling includes the pan rest. Optional decoration, ingredient warm-up and extra trays add time.
Kitchen tools you’ll need
- US measuring cups/spoons and digital scale
- Saucepan, bowl and whisk
- Rolling pin and parchment
- Two 13 × 18-inch baking sheets
- Wire cooling rack
- Piping bags with fine round and small leaf tips
- 3 1/2-inch snow globe cutter and 2 1/4-inch round cutter
- Zip-top bag, rolling pin and small spoon for crushing candy
Snow globe gingerbread cookies with clear hard-candy windows, tiny piped winter scenes and snowy white icing borders.
Ingredients
Scale ingredients and US equivalents, including eggs. Keep cookie size, thickness, oven temperature and baking time per tray unchanged. More trays add time; weigh beaten egg for fractional batches.
Cookie dough
Spice blend
Candy windows
Decoration
Instructions
A · Prepare & mix
- Melt & seasonGently melt butter over low heat. Remove from the heat and stir in sugar, molasses, salt and spices until evenly combined. Let cool until lukewarm before beating in the egg.
- CombineWhisk flour with baking powder and baking soda, then mix into the wet ingredients until no dry flour remains. Dough will be sticky; do not add more flour.
B · Chill
- Firm the doughDivide into two flattened rectangles, wrap tightly and refrigerate at least 60 minutes, until cold and firm enough to roll. Chilling firms the butter and lets the flour hydrate.
C · Roll & cut
- ShapeHeat to 350°F (175°C) conventional, or about 325°F fan. Roll cold dough 1/4 inch thick directly on parchment. Cut 3 1/2-inch snow-globe shapes with a wide solid base. Cut a 2 1/4-inch circular window from the globe, keeping a rim at least 3/8 inch wide. Remove scraps without stretching the rims. Space 1 inch apart.
D · Bake
- Check donenessCrush hard candy finely in a closed bag with a rolling pin. Spoon about 1 1/2 tsp (7 g) into each window, slightly mounded; brush stray pieces off the dough. Bake 10–13 minutes until cookie edges are set and candy is fully melted. Check one cookie first because candy brands melt differently; if candy browns before the cookie sets, reduce the amount slightly or use a smaller opening for the next tray.
E · Cool & finish
- Cool before icingLeave on the parchment until the candy is completely cold and hard, about 25 minutes; never lift while the window is soft. Pipe white icing around the rim and small snow dots on the candy. Pipe a tiny house or tree on the window, adding colored details and a snowy border along the base. Allow icing to dry according to its packaging before packing; drying time is additional.
Chef’s Science & Pro Tips
Protect the rim
Keep at least a 3/8-inch dough border around the cut-out so it supports the candy window.
Test the candy
Bake one test cookie before the whole batch; brands differ in melting speed and color.
Finish when fully cold
Pipe winter details only after the window hardens. Store dry so the candy does not become tacky.
Storage & Make-Ahead
| Method | How long | What to do |
|---|---|---|
| Room temperature | Up to 3 days | Store completely dry cookies airtight in single layers separated by parchment, away from humidity. |
| Refrigeration | Not recommended for finished cookies | Condensation makes candy windows sticky. Plain dough can be refrigerated up to 3 days. |
| Raw freezing | Up to 2 months | Freeze wrapped dough without candy or icing; thaw in the refrigerator before rolling. |
| Cooked freezing | Not recommended with candy windows | Candy absorbs condensation and can turn sticky during thawing. |
| Restoration | Serve dry at room temperature | Do not microwave or reheat decorated candy-window cookies. |
Notes
- The transparent center is melted edible hard candy, not glass. Choose pale translucent hard candies; white mints and chewy candies do not create the same clear window. This is a more detailed decorating project. Candy windows are crisp and harder to bite than the cookie.
Nutrition
Estimated per stated serving from generic ingredient weights and yield. Includes listed icing, fillings, candy and toppings; excludes optional extras. Prepared icing is modeled as sugar-based cookie icing. Brands, coating left over, cutter sizes and yield change the estimate.
 RECIPE REVIEWEDGINGERBREADGINGERBREAD COOKIES
Frequently Asked Questions
A few helpful answers before you bake.
How is the clear window made?
Crushed translucent hard candy melts inside the cut-out during baking and hardens as the cookie cools.
Can I use gummy candy?
No. Use hard boiled candy; gummy and chewy candies do not set into a crisp window.
Why does the window stick to the paper?
It may still be warm. Let it harden completely before gently peeling away the parchment.
 Follow The Cookie Index on Pinterest
Share a little gingerbread joy
Send this recipe to someone who loves to bake.