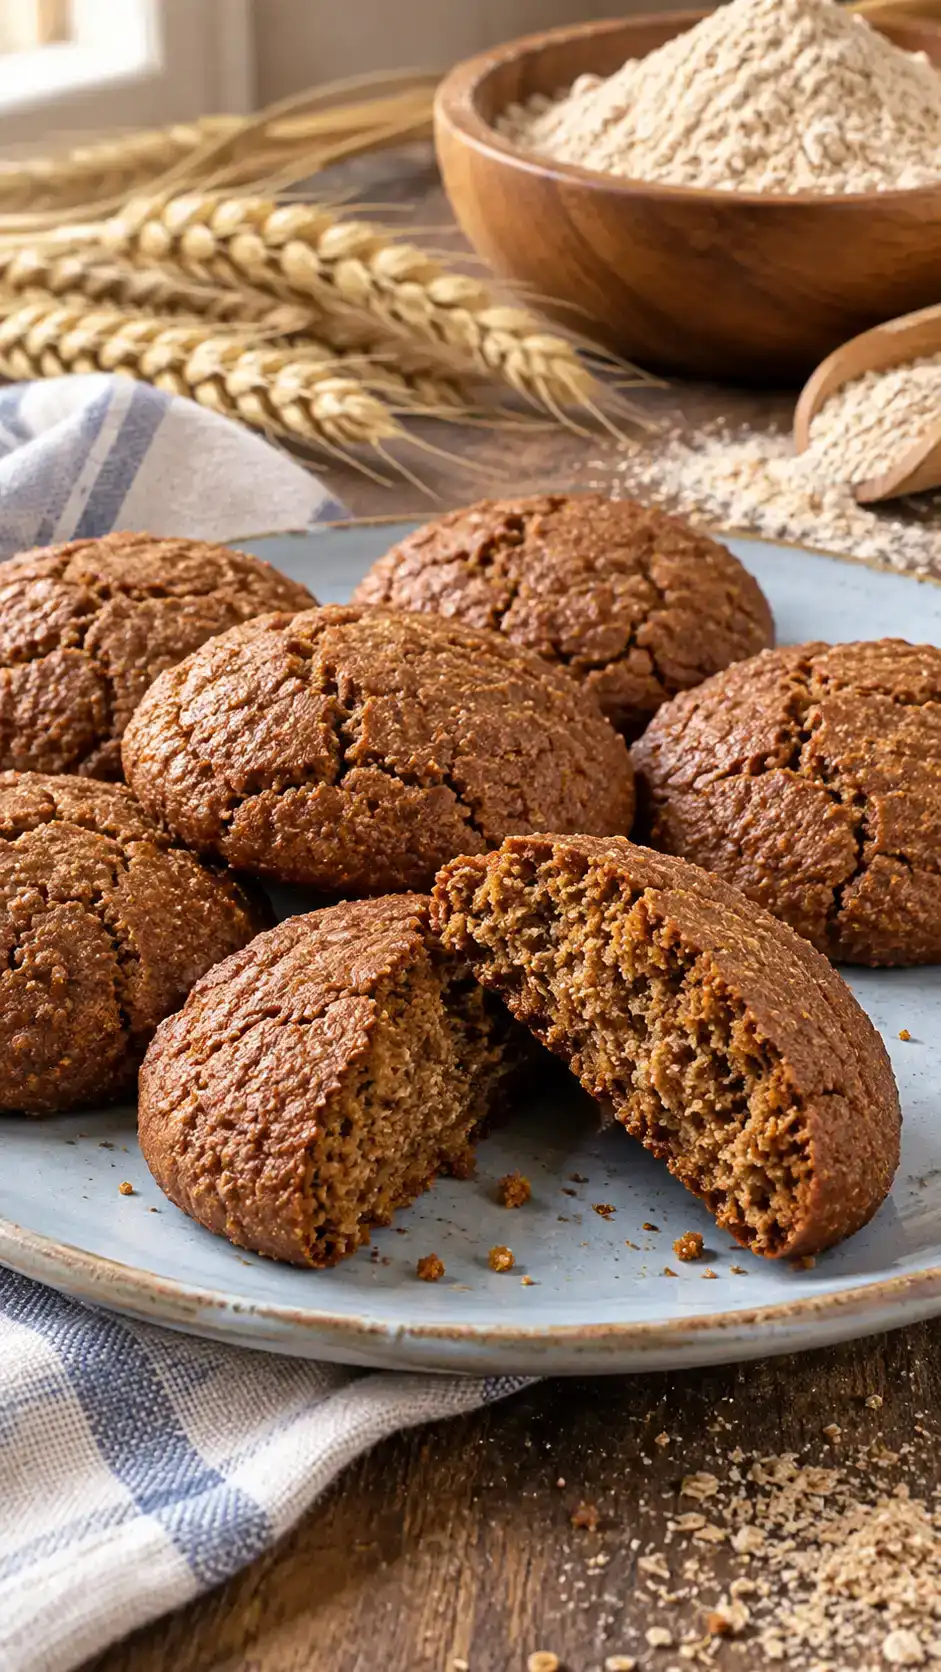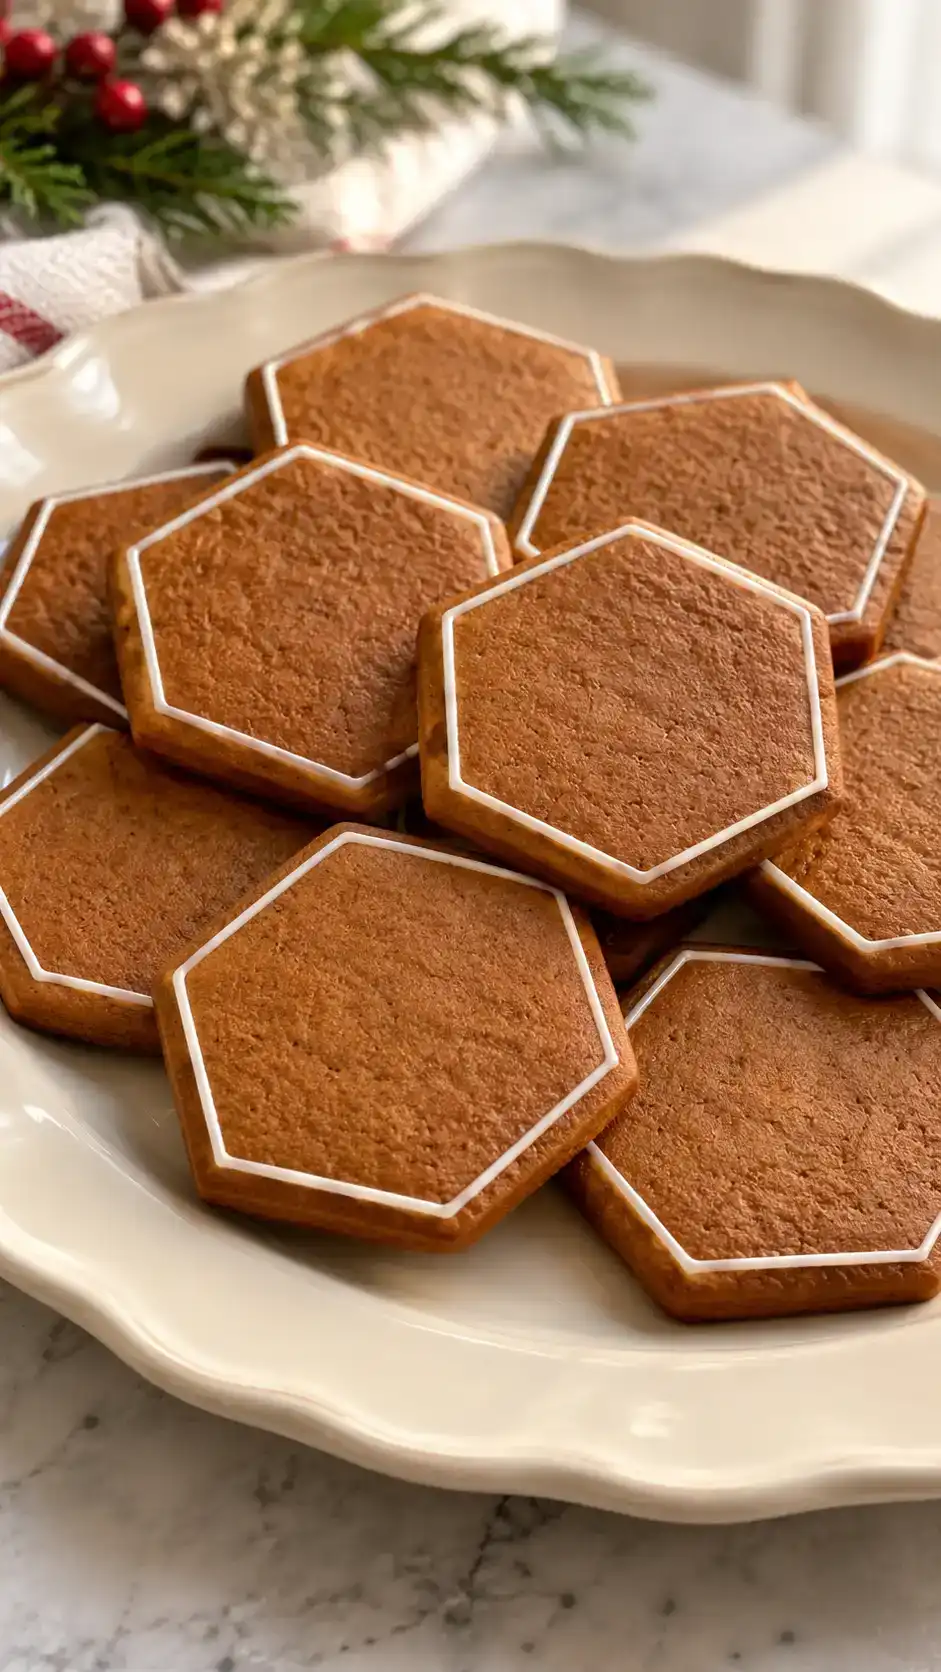
Gingerbread Christmas light cookies with colorful iced bulb centers, little white sockets and crisp brown outlines.
A bulb shape needs a broad socket connection so it does not snap after baking.
Use prepared royal icing of a consistency suitable for the stated design and food-safe colors. The 300 g amount is a decorating supply; some may remain, and nutrition includes all of it. Dough contains wheat, dairy and egg. Royal icing may also contain egg; check labels. Spice weights are approximate. Icing drying depends on thickness and humidity, and heavily flooded designs may need overnight drying before gift-box stacking.

Gingerbread Christmas Lights Cookies
Per tray: 8–12 minutes · About 4 trays, up to 12 shapes on each 13 × 18-inch pan
Allow about 313 minutes: 65 hands-on including decoration, 60 chilling, 48 for all trays, 20 cooling including the pan rest, and 120 icing drying. Detailed decoration or humid weather adds time; follow the icing label before stacking.
Kitchen tools you’ll need
- Small saucepan, mixing bowl and sturdy spoon
- Rolling pin with 1/4-inch guides
- 2 1/2-inch Christmas light bulb cutter
- Two 13 × 18-inch baking sheets and parchment
- Wide offset spatula and cooling rack
- Fine-tip piping bags, small bowls and food-safe icing colors
- US measures and scale
Gingerbread Christmas light cookies with colorful iced bulb centers, little white sockets and crisp brown outlines.
Ingredients
Scale ingredients and US equivalents, including eggs. Keep cookie size, thickness, oven temperature and baking time per tray unchanged. More trays add time; weigh beaten egg for fractional batches.
Cookie dough
Spice blend
Decoration
Instructions
A · Prepare & mix
- Melt & seasonGently melt butter over low heat. Remove from the heat and stir in sugar, molasses, salt and spices until evenly combined. Let cool until lukewarm before beating in the egg.
- CombineWhisk flour with baking powder and baking soda, then mix into the wet ingredients until no dry flour remains. Dough will be sticky; do not add more flour.
B · Chill
- Firm the doughDivide into two flattened rectangles, wrap tightly and refrigerate at least 60 minutes, until cold and firm enough to roll. Chilling firms the butter and lets the flour hydrate.
C · Roll & cut
- ShapeHeat to 350°F (175°C) conventional or 325°F (165°C) fan. Roll chilled dough between lightly floured parchment to 1/4 inch. Cut 2 1/2-inch bulb silhouettes with a rounded bulb and short broad socket. Keep thin necks supported when lifting. Space 1 inch apart on lined pans and keep unused dough cold.
D · Bake
- Check donenessBake one tray at a time 8–12 minutes until the surface is set and edges are slightly darker. Use cooled pans between batches. Check at the early end of the range, particularly for narrow shapes.
E · Cool & finish
- Cool before icingRest 5 minutes on the pan, then about 15 minutes on a rack until fully cold. Do not ice warm cookies.
Decorate
- Create the 2 1/2-inch light bulbs designOutline and lightly fill the bulb area with red, yellow, green or blue icing, leaving a narrow brown border. Pipe a short white socket. Let the outlined areas settle before adding contrasting socket details. Arrange on a serving tray as a loose string of lights; any connecting icing line belongs on the tray, not in the dough.
Dry
- Set before packingLeave decorated cookies flat and uncovered in a clean cool room for at least 120 minutes, or longer until the icing surface is firm. A flooded icing may need overnight drying before stacking; follow the prepared icing label.
Chef’s Science & Pro Tips
Plan the outline
A bulb shape needs a broad socket connection so it does not snap after baking.
Cool before icing
A completely cold cookie keeps the icing from melting or running into the edges.
Set colors in stages
Keep contrasting icing colors from touching while very wet; allow the first color to set before adding fine details.
Storage & Make-Ahead
| Method | How long | What to do |
|---|---|---|
| Room temperature | 3–4 days | Once icing is completely set, store airtight with parchment separators; keep dry and cool. |
| Refrigeration | Raw dough: up to 2 days | Wrap dough tightly. Plain baked cookies do not need refrigeration. |
| Raw freezing | Up to 2 months | Freeze tightly wrapped plain dough disks; thaw covered in the refrigerator before rolling and cutting. |
| Cooked freezing | Up to 2 months | Freeze plain baked shapes airtight; thaw covered, then decorate and dry. |
| Restoration | Before serving | Serve decorated cookies at room temperature; avoid reheating icing. Warm only undecorated shapes if desired. |
Notes
- Use prepared royal icing of a consistency suitable for the stated design and food-safe colors. The 300 g amount is a decorating supply; some may remain, and nutrition includes all of it. Dough contains wheat, dairy and egg. Royal icing may also contain egg; check labels. Spice weights are approximate. Icing drying depends on thickness and humidity, and heavily flooded designs may need overnight drying before gift-box stacking.
Nutrition
Approximate per-serving values from generic ingredient weights and stated yield, including listed toppings and fillings. Excludes optional decoration and bench flour. Leftover coating or icing, ingredient brands and actual yield change these estimates.
 RECIPE REVIEWEDGINGERBREADGINGERBREAD COOKIES
Frequently Asked Questions
A few helpful answers before you bake.
Do I bake the cookies joined together?
No. Bake each bulb separately and arrange them as a garland after decorating.
How thick should the dough be?
Roll evenly to 1/4 inch for the timings and sturdy decorated shapes in this recipe.
When can I stack them for gifting?
Only when the icing is firm and dry. Thin lines may set sooner, but fully flooded designs can need overnight drying.
 Follow The Cookie Index on Pinterest
Share a little gingerbread joy
Send this recipe to someone who loves to bake.